Your own free Minecraft Java server can be created by downloading the official server file on the Minecraft site, installing the latest Java version, and creating a folder where you can put your server files. Once you have executed the .jar file, agree to the EULA by altering eula=false to eula=true in the generated eula.txt. Restart the server, set up some settings in the server.properties file, and join it locally by using the address localhost in Minecraft. You can provide your friends with your public IP and configure port forwarding on your router (the default port is 25565) or use free hosting providers such as Aternos or Minehut when you do not want to leave your PC on. In this manner, you will be able to have a personalized multiplayer Minecraft world without incurring any expenses.
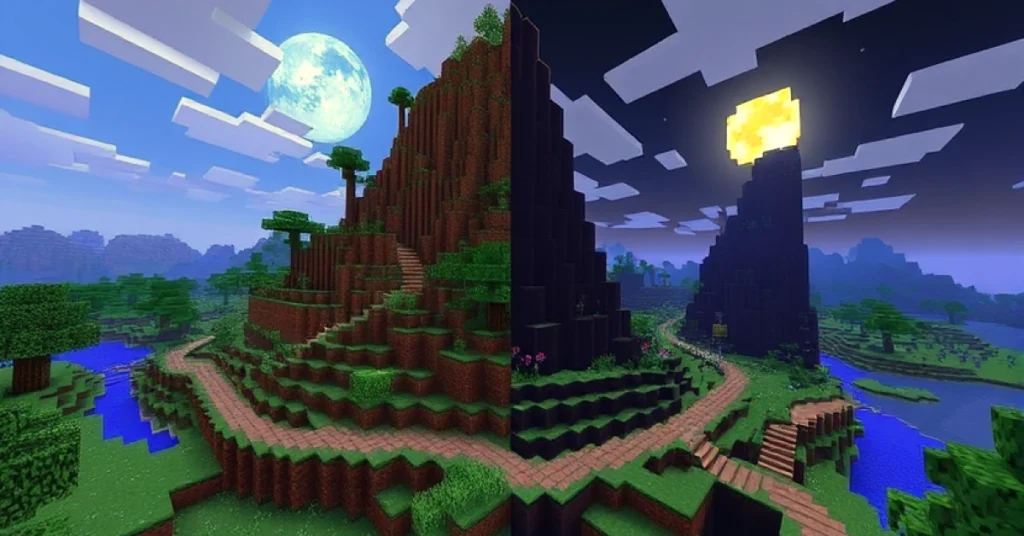
How to Make Your Own Minecraft Server?
It is better to know the reasons why it is good to create your own server before getting to the technical steps:
- Gameplay control: You are able to establish the rules, turn on or off cheats, and place in the plugs or the mod.
- Private community: You can invite your friends or make it public- it is up to you.
- Customization: Your server can be as creative as you wish, starting with custom maps and ending with custom game modes.
- Learning experience: Hosting will teach you networking, file management and server administration.
What You Need to Get Started
To create your own free Minecraft Java server, you will require a few items before you get started:
- A decent computer – It is advisable to have a computer with at least 4GB RAM, but 8GB is preferable should you desire smoother game play with more than one player.
- Internet connection that is reliable – Upload speed is also a major concern because your computer will be used as the host.
- Java installed – Minecraft is Java based and therefore you have to have the latest Java installed.
- Java Edition – Only the Java Edition enables you to create servers in this way.
Step 1: Up-date to the newest Java.
Servers of Minecraft are Java-based and thus compatibility and performance are guaranteed by the latest version.
- Go to the Java download page.
- Download and install the most recent version.
- To check installation, open Command Prompt (Windows) or Terminal (Mac/Linux) and enter:
nginx   copy code
java -version
When you notice the installed version you are fine.
Step 2: Download the Minecraft Server File
Mojang offers a free official file of Minecraft Java Edition server.
- Go to the official Minecraft server download site
- Download the minecraft_server.jar to a separate folder.
- Create a new folder called Minecraft_Server and place the jar file inside. This maintains order in things.
Step 3: Set Up Your Server Folder
You require two configuration files to operate the server.
- Open your Minecraft_Server folder.
- Double-click the file to launch it. (When it does not run, right click and select Open with Java.)
- When you first run it, some files will be created such as eula.txt.
- Open eula.txt in Notepad and change:
ini   copy code
eula=false
to
ini   code
eula=true
- Save the file and close it.
This is necessary in order to accept the End User License Agreement of Minecraft.
Step 4: Launch Your Server
You can now launch your Minecraft server.
- Double-click the .jar file again.
- A command window will be opened and the server will begin to load.
- New files such as server.properties will be established.
You have a working server now!
Step 5: Set up Your Server Options
You can tailor the operations of your server by using the file server.properties. Edit it in a text editor and you will find options like:
- gamemode=survival/creative/adventure – Set the default mode.
- max-players=20-Change the number of players.
- motd=Welcome to My Server! This shown in the multiplayer list.
- difficulty=easy/normal/hard – Adjust the challenge level.
Changes must saved and the server started to become effective.
Step 6: Locally Connect to Your Server
Test your server before you share it with other people.
- Open Minecraft Java Edition.
- Click Multiplayer → Add Server.
- For “Server Address,” type:
nginx   copy code
localhost
- Save and join.
Should all go well, then you can play on your server.
Step 7: Allow Friends to Be on Your Server
To let others play, you will need to share your IP address.
- On Windows, open Command Prompt and type:
nginx   copy code
ipconfig
Look for your IPv4 address.
- Post your public IP (you can find it on whatismyip. com) with your friends.
Port Forwarding
When you wish to have friends outside your Wi-Fi network, you will be required to open the port forwarding on your router. Minecraft uses the default port 25565.
- Log in to your router by finding the IP address on the back of the device.
- Find the Port Forwarding section.
- Add a new rule:
- Port: 25565
- Protocol: TCP/UDP
- IP Address: Your computer’s local IPv4
Save and reboot the router.
Step 8: Free Hosting Alternatives (Optional)
You can use free third party hosting platforms in case you do not want to have your PC running 24/7. Some popular ones include:
- Aternos – Free, simple to use, and allows mods/plugins.
- Minehut – It has a control panel and can accommodate up to ten players.
- Server.pro – Free plan with limited slots, paid upgrades.
The services are ideal when you are not interested in port forwarding or keeping your PC online at all times.
Step 9: Add Plugins and Mods
Customization is one of the finest aspects of Minecraft Java servers.
- Install Spigot or PaperMC to have the use of the plugins (economy systems, mini-games, anti-griefing tools).
- Use Forge or Fabric when you desire mods (new blocks, items, dimensions).
Never forget to make sure the mods/plugins are compatible with your server version.
Step 10: Support and administer Your Server
Operating a server is not only a matter of configuration but also a matter of ensuring that things run well on the server to the players.
- Save your world so that you do not lose it.
- Change your server jar with new Minecraft versions.
- Control players with the help of the commands (such as /op yourusername).
- Establish regulations to avoid mourning or cheating.
Tips for a Smooth Free Server
- Restrict the players when your computer is slow.
- Increase RAM by making a startup script such as:
nginx   copy code
java -Xmx2G -Xms2G -jar minecraft_server.jar nogui
(Modify the 2G to the desired RAM size.)
- Install performance enhancing plugins, such as ClearLag.
Final Thoughts
Creating a free Minecraft Java server is a thrilling undertaking that puts you in full control of your Minecraft experience. You can have a personal server with a few friends or a bigger community with the mod and the plug, it is easy & gratifying. You can have a fully functional server without spending a single penny, with only your computer, a little bit of setup and some patience.
So do it now- follow the steps above, call your friends and begin creating your own world with them. Adventure, creativity, and hours of fun await in your custom Minecraft server!